Homelab Minirack: A Compact Yet Powerful Setup - Part 1

Homelabs have a funny way of starting small and then… not staying small. What began for me as a couple of devices on a shelf eventually evolved into a compact, intentional, and highly capable minirack setup. This post is a walkthrough of my current homelab minirack: the hardware choices and how everything is mounted.
The goal of this build is simple: maximum flexibility and learning value in the smallest, cleanest footprint possible.
The Rack: DeskPi RackMate T1
At the heart of the setup is the DeskPi RackMate T1. This 10" 8U rack hits a sweet spot for a homelab environment:
- Small enough to live on or under a desk
- Standard 10-inch rack format
- Supports real rack-mounted accessories
The RackMate T1 makes it possible to treat a homelab like a “real” rack—proper mounting, airflow planning, cable management—without dedicating an entire room or closet to it.
Rack Contents (Front Side)
Despite its compact size, the rack can be somewhat densely packed with both compute and networking gear.
Compute Hardware
Protectli VP3230 Pro
The Protectli VP3230 Pro serves as a dedicated, low-power x86 system. This box is ideal for infrastructure workloads that benefit from reliability and isolation—especially networking and virtualization services.
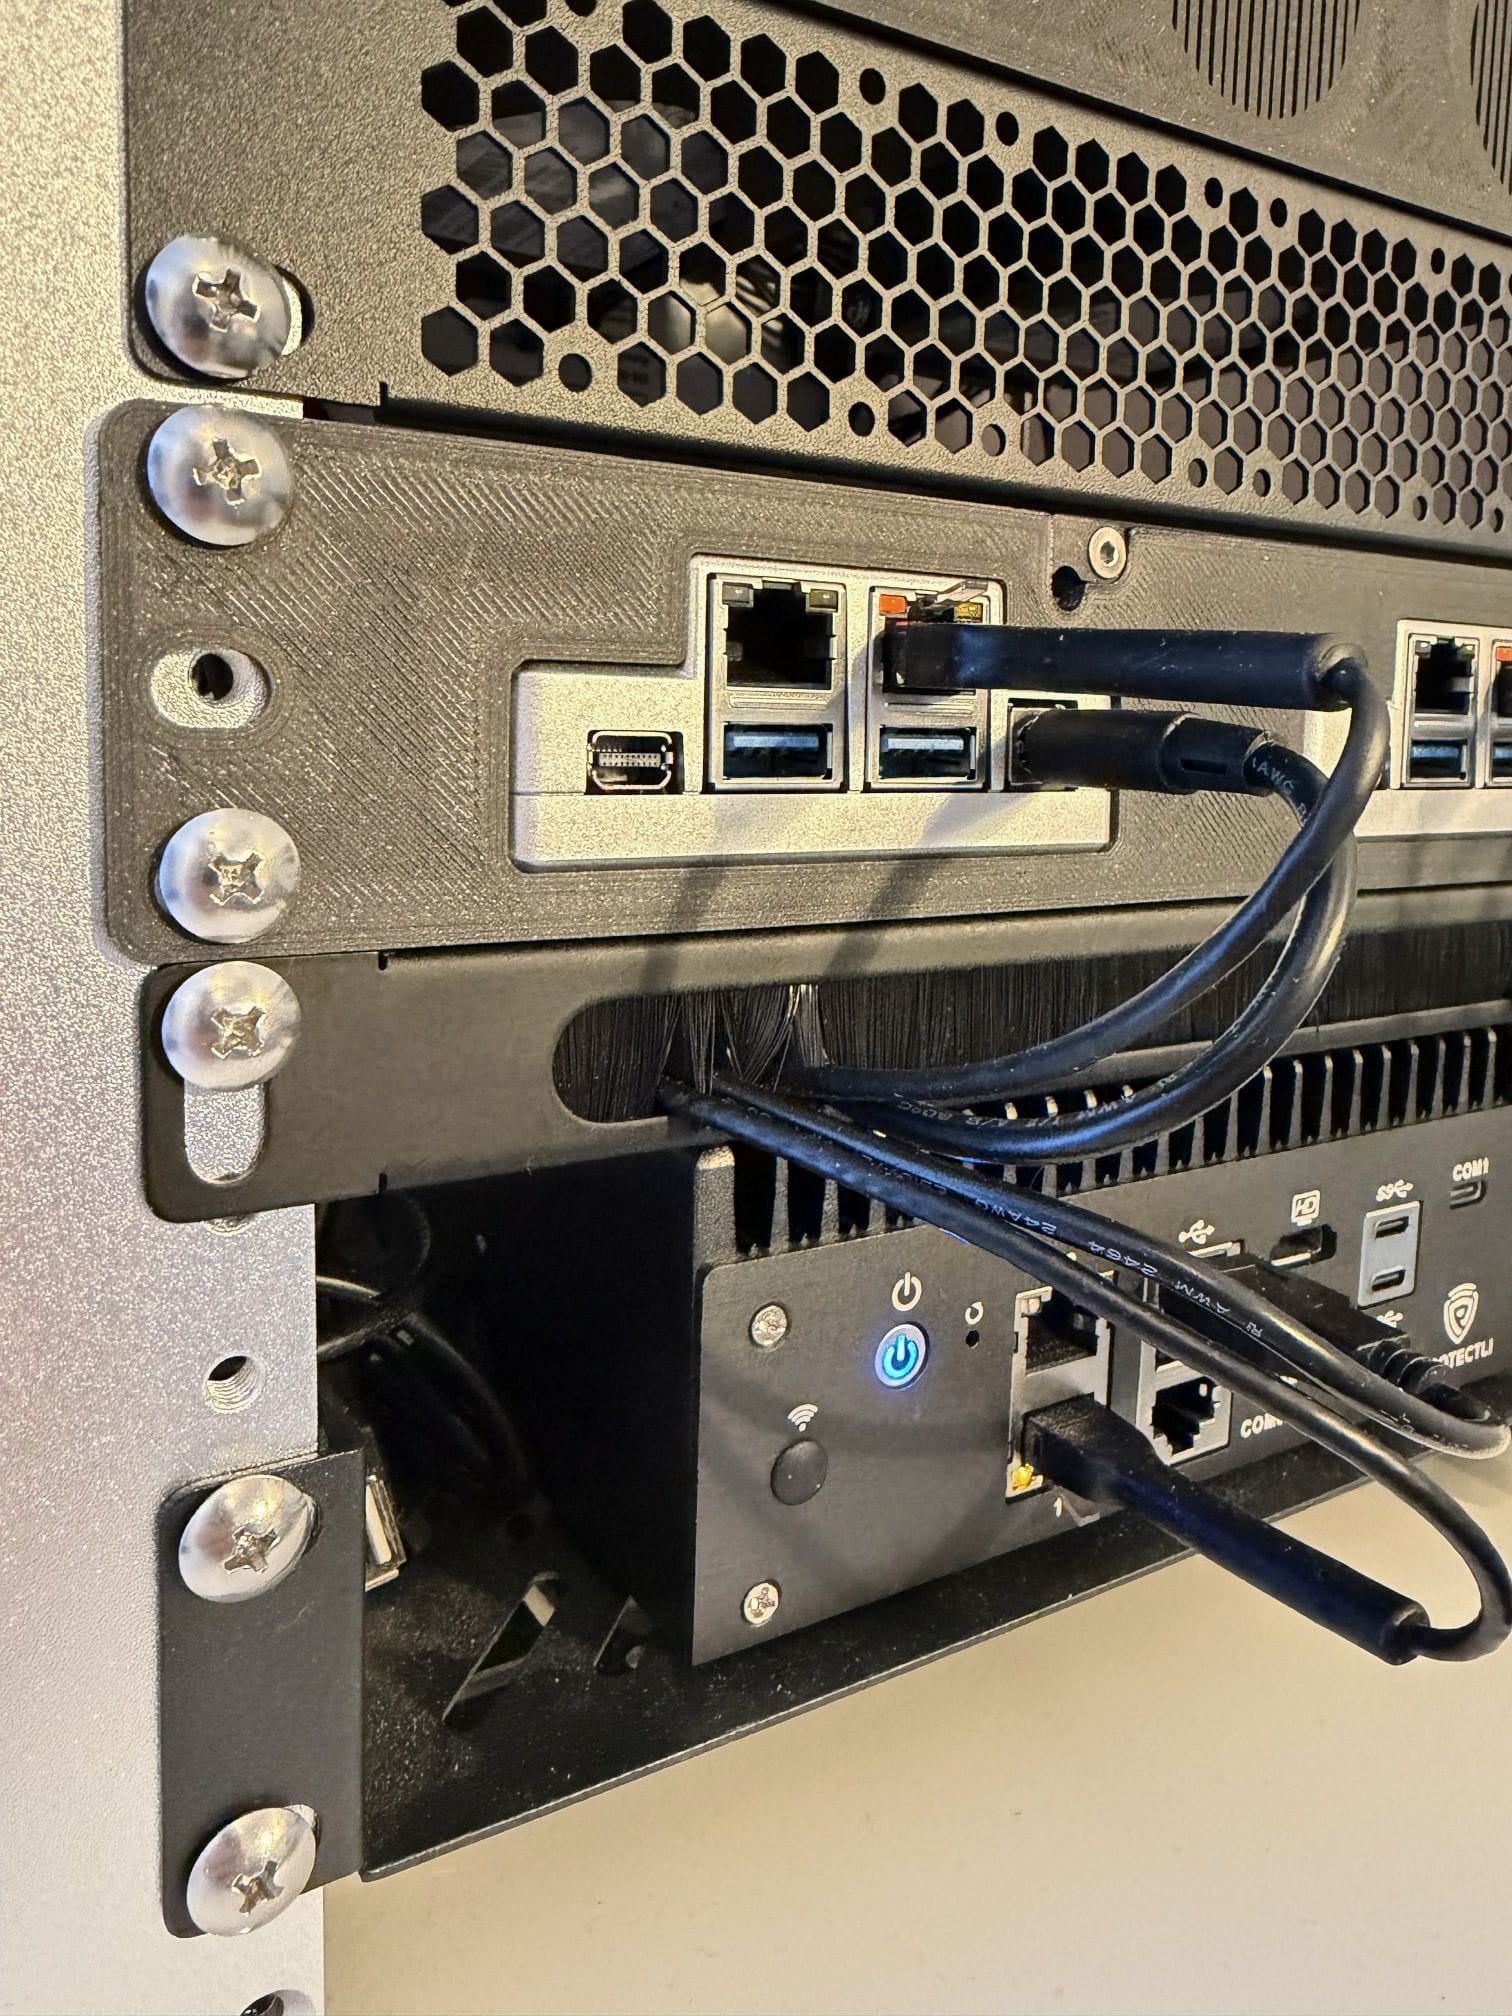
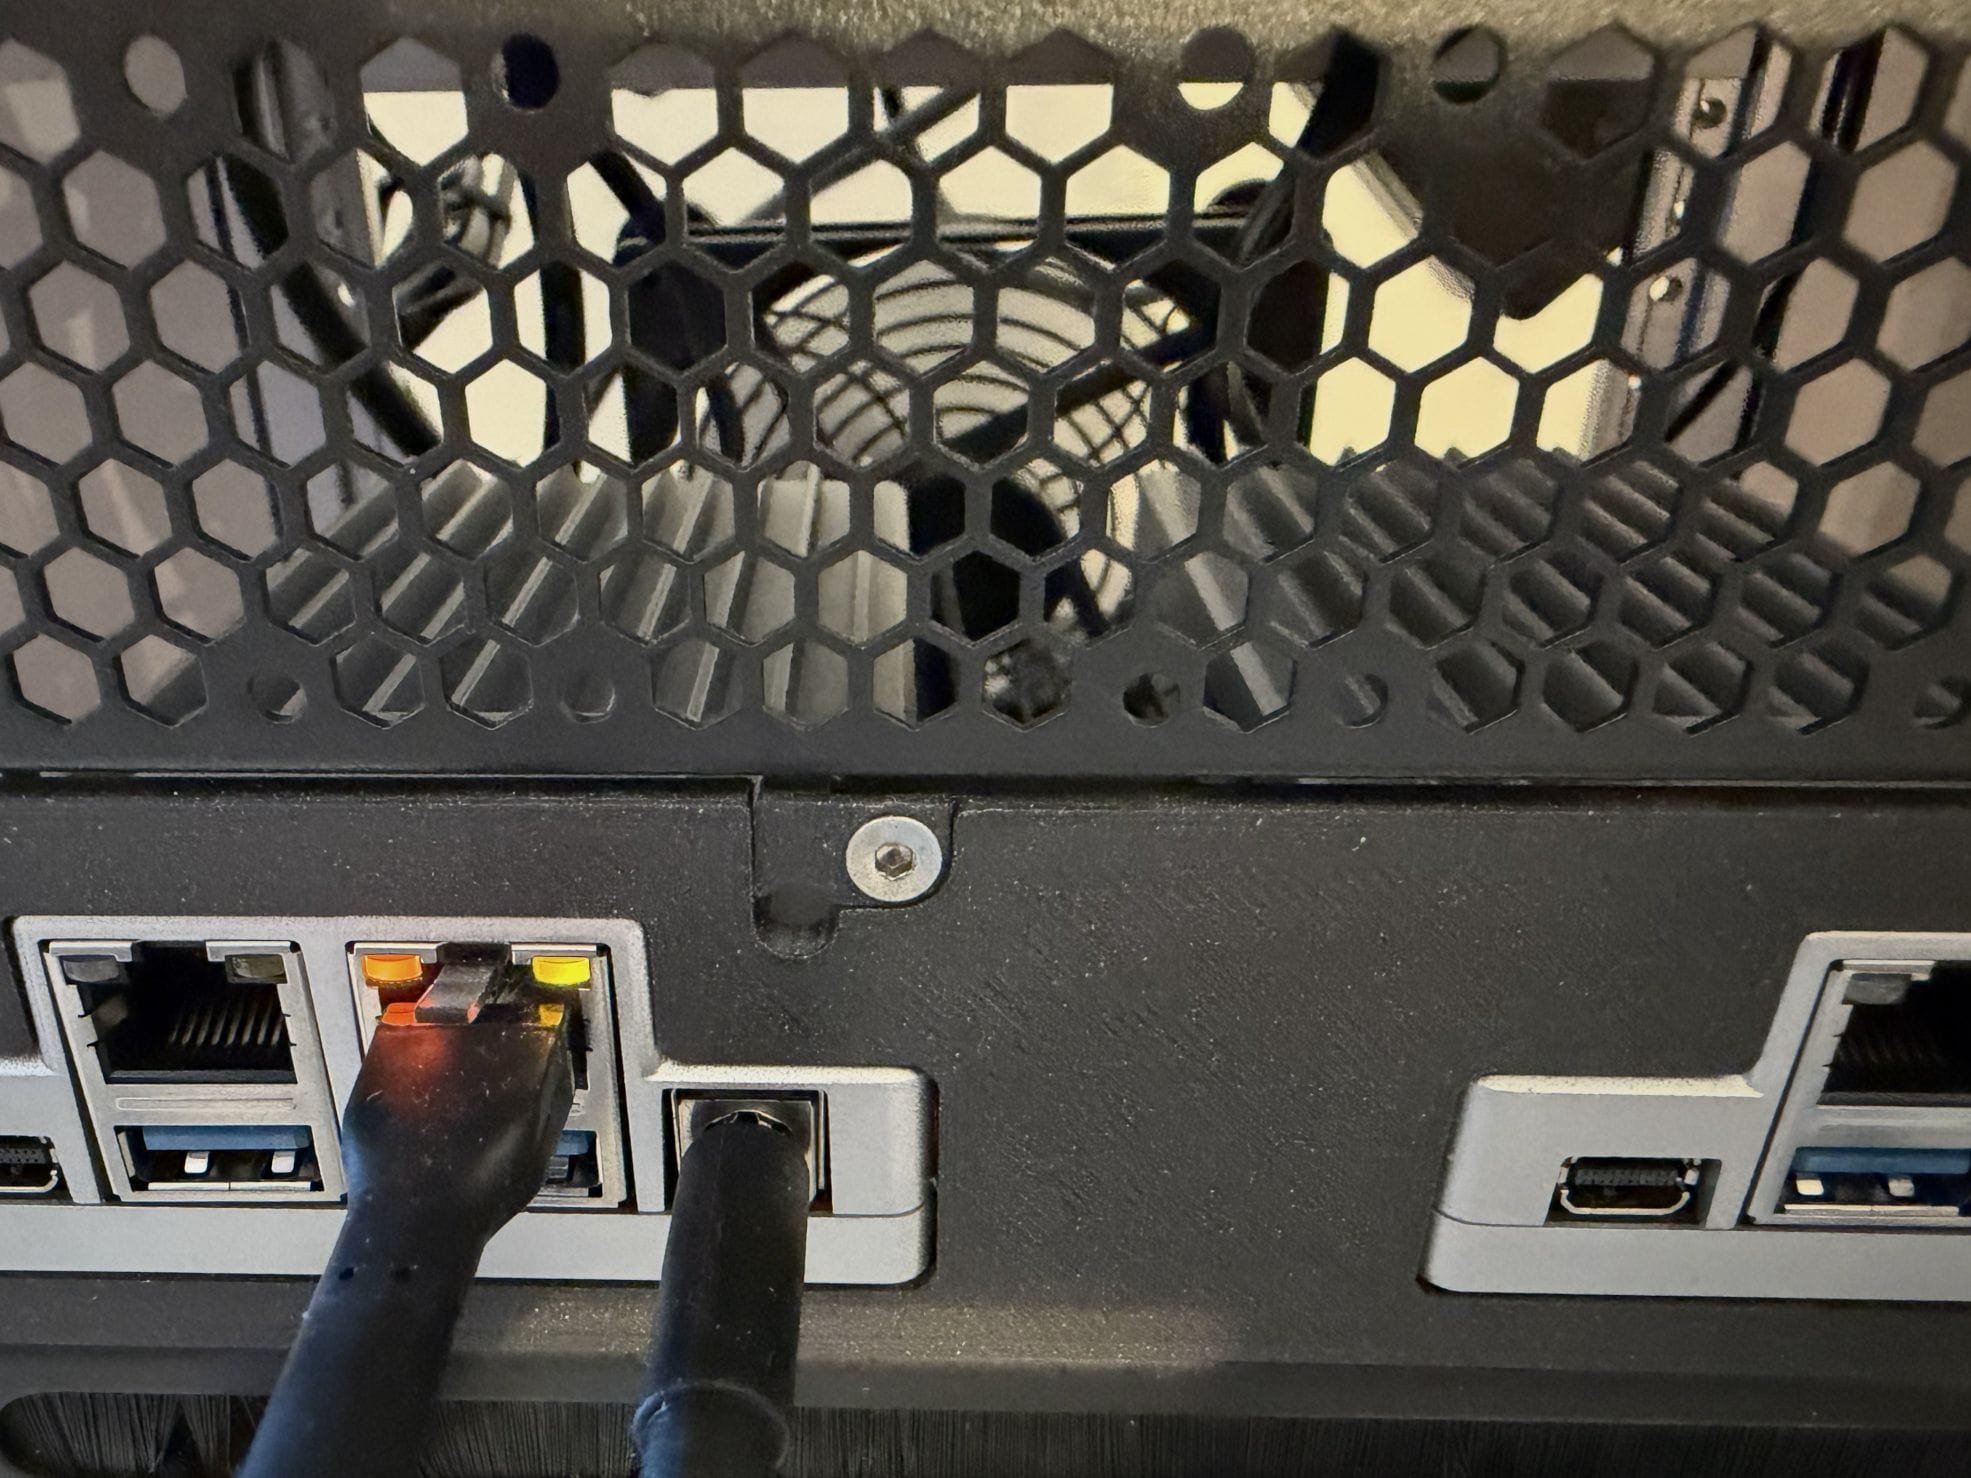
ZimaBoard 2 (x2)
Two ZimaBoard 2 units provide flexible, efficient compute nodes. These boards punch well above their size and power consumption and are perfect for clustered workloads, experimentation, and container hosting. Both of the units are set up in a 3D printed 1U rack mount by WorksOnMyBench in Etsy.
Cable Management & Panels
To keep things clean and serviceable, the rack includes:
- Ventilation grilles for airflow
- Cable passthrough brushes to route power and network cables cleanly
- RJ45 patch panel, making it easy to patch and reconfigure networking without digging into the rack
These small details go a long way in making the rack feel intentional instead of improvised.
Storage
- Four 1TB SSDs, mounted in a 1U SSD rack
The dedicated 1U SSD rack keeps storage tidy and accessible while allowing the compute nodes to remain compact. The rack mount, also by WorksOnMyBench, can hold up to 6x SSDs and even includes three 40mm fan mounts in the front.
Networking
UniFi USW XG 8 Pro PoE
The networking backbone of the rack is the UniFi USW XG 8 Pro PoE:
- 10GbE-capable ports for high-speed interconnects
- High capacity PoE support
- Solid UniFi ecosystem integration
This switch ensures that even in a small rack, networking is not the bottleneck. Connectionwise almost everything is by 2.5G Ethernet, apart from the Internet connection which is 10G Ethernet. Fiber ports are waiting for future expansion.
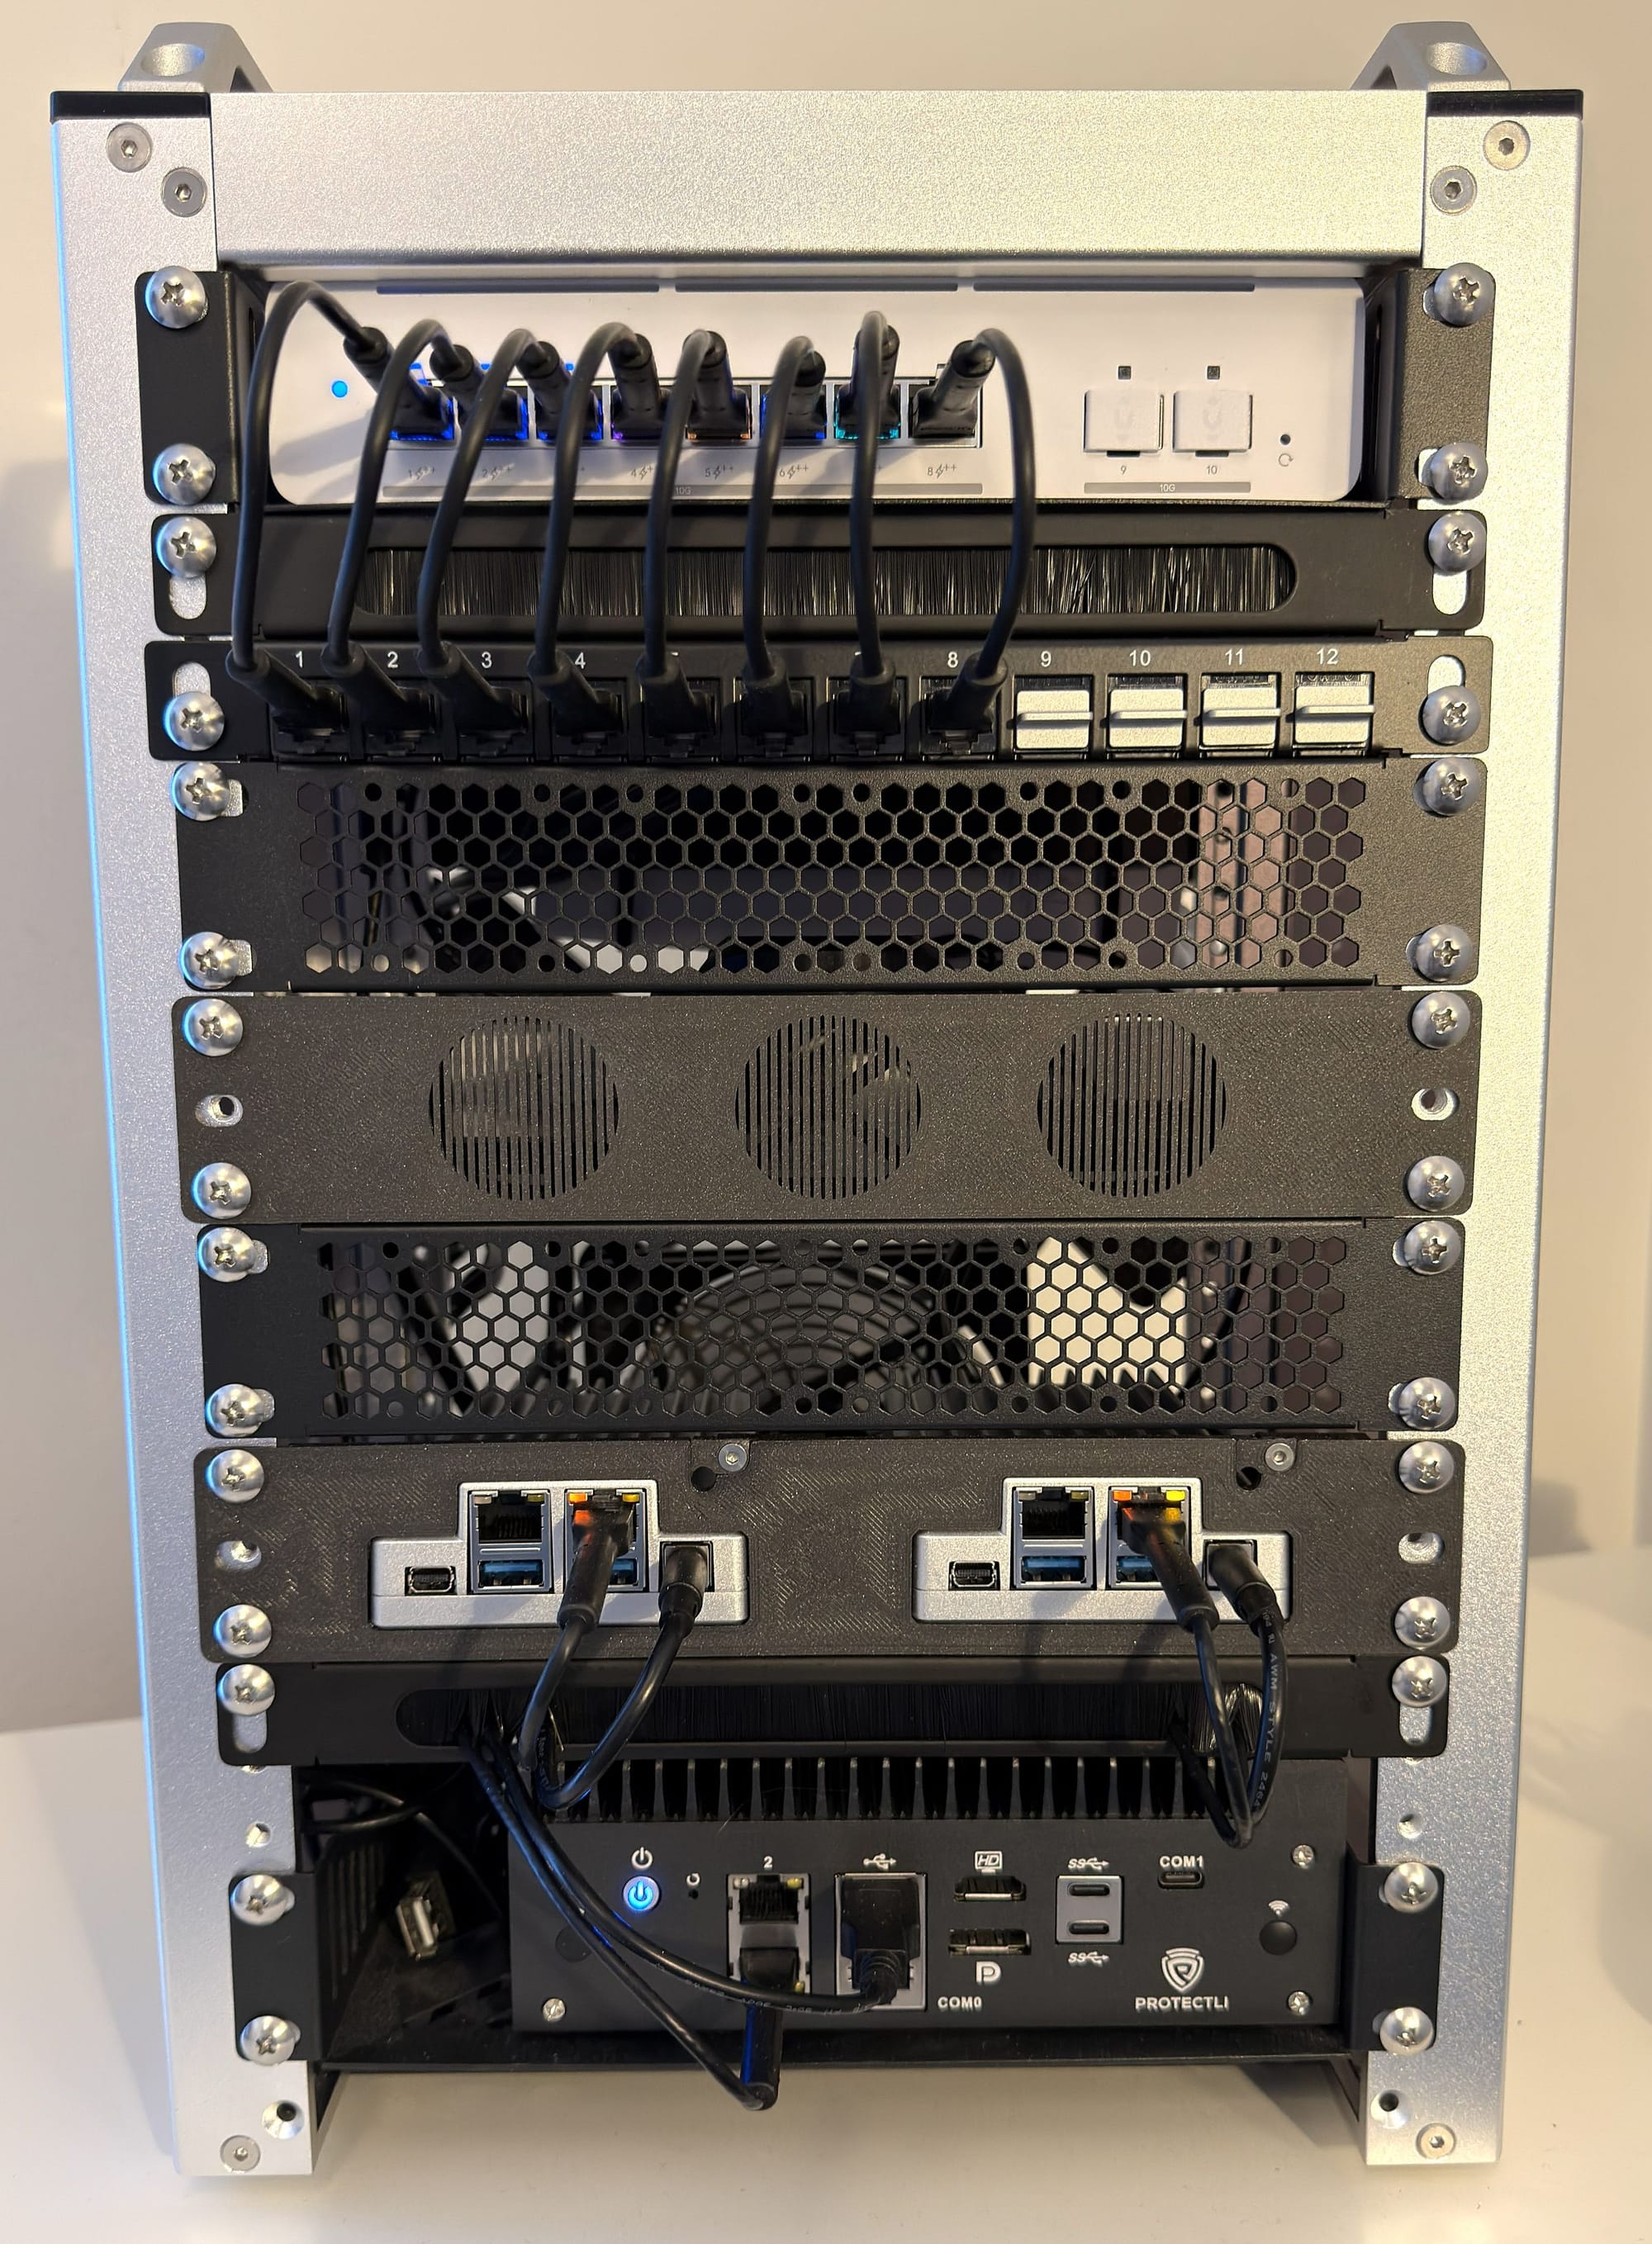
Rack Contents (Back Side)
The rear of the rack focuses on power delivery and thermal management.
- 1U power panel for centralized, clean power distribution
- 140mm USB-powered fan, mounted using a custom mount
- Some, not so tidy (yet), cable management
The fan provides steady airflow across the compute nodes without excessive noise. In a small enclosure, airflow matters just as much as raw performance, and the custom mount (from eBay) keeps everything secure and aligned.
Closing Thoughts
This minirack proves that a homelab doesn’t need to be massive to be powerful. With thoughtful hardware choices, clean cable management, and a solid hardware choices, a compact rack can support serious workloads and endless homelab experimentation.
In Part 2, we’ll move up the stack and dive into what actually runs on this hardware: virtualization, containers, monitoring, and the services that make the lab useful day to day.